How to Connect Optical Audio Cable to RCA
Introduction
Connecting various types of audio equipment can be challenging. When you need to connect an optical audio cable to RCA inputs, the task might appear daunting initially. However, it’s entirely doable with the right tools and careful effort. This guide will walk you through the step-by-step process to help you successfully connect optical audio cables to RCA inputs. Whether you're enhancing your home theater system or connecting legacy devices, this tutorial has you covered.

Understanding Optical Audio and RCA
Before diving into the connection process, it's crucial to understand what optical audio and RCA are and how they differ. This foundational knowledge will help ensure a smooth setup.
What is Optical Audio?
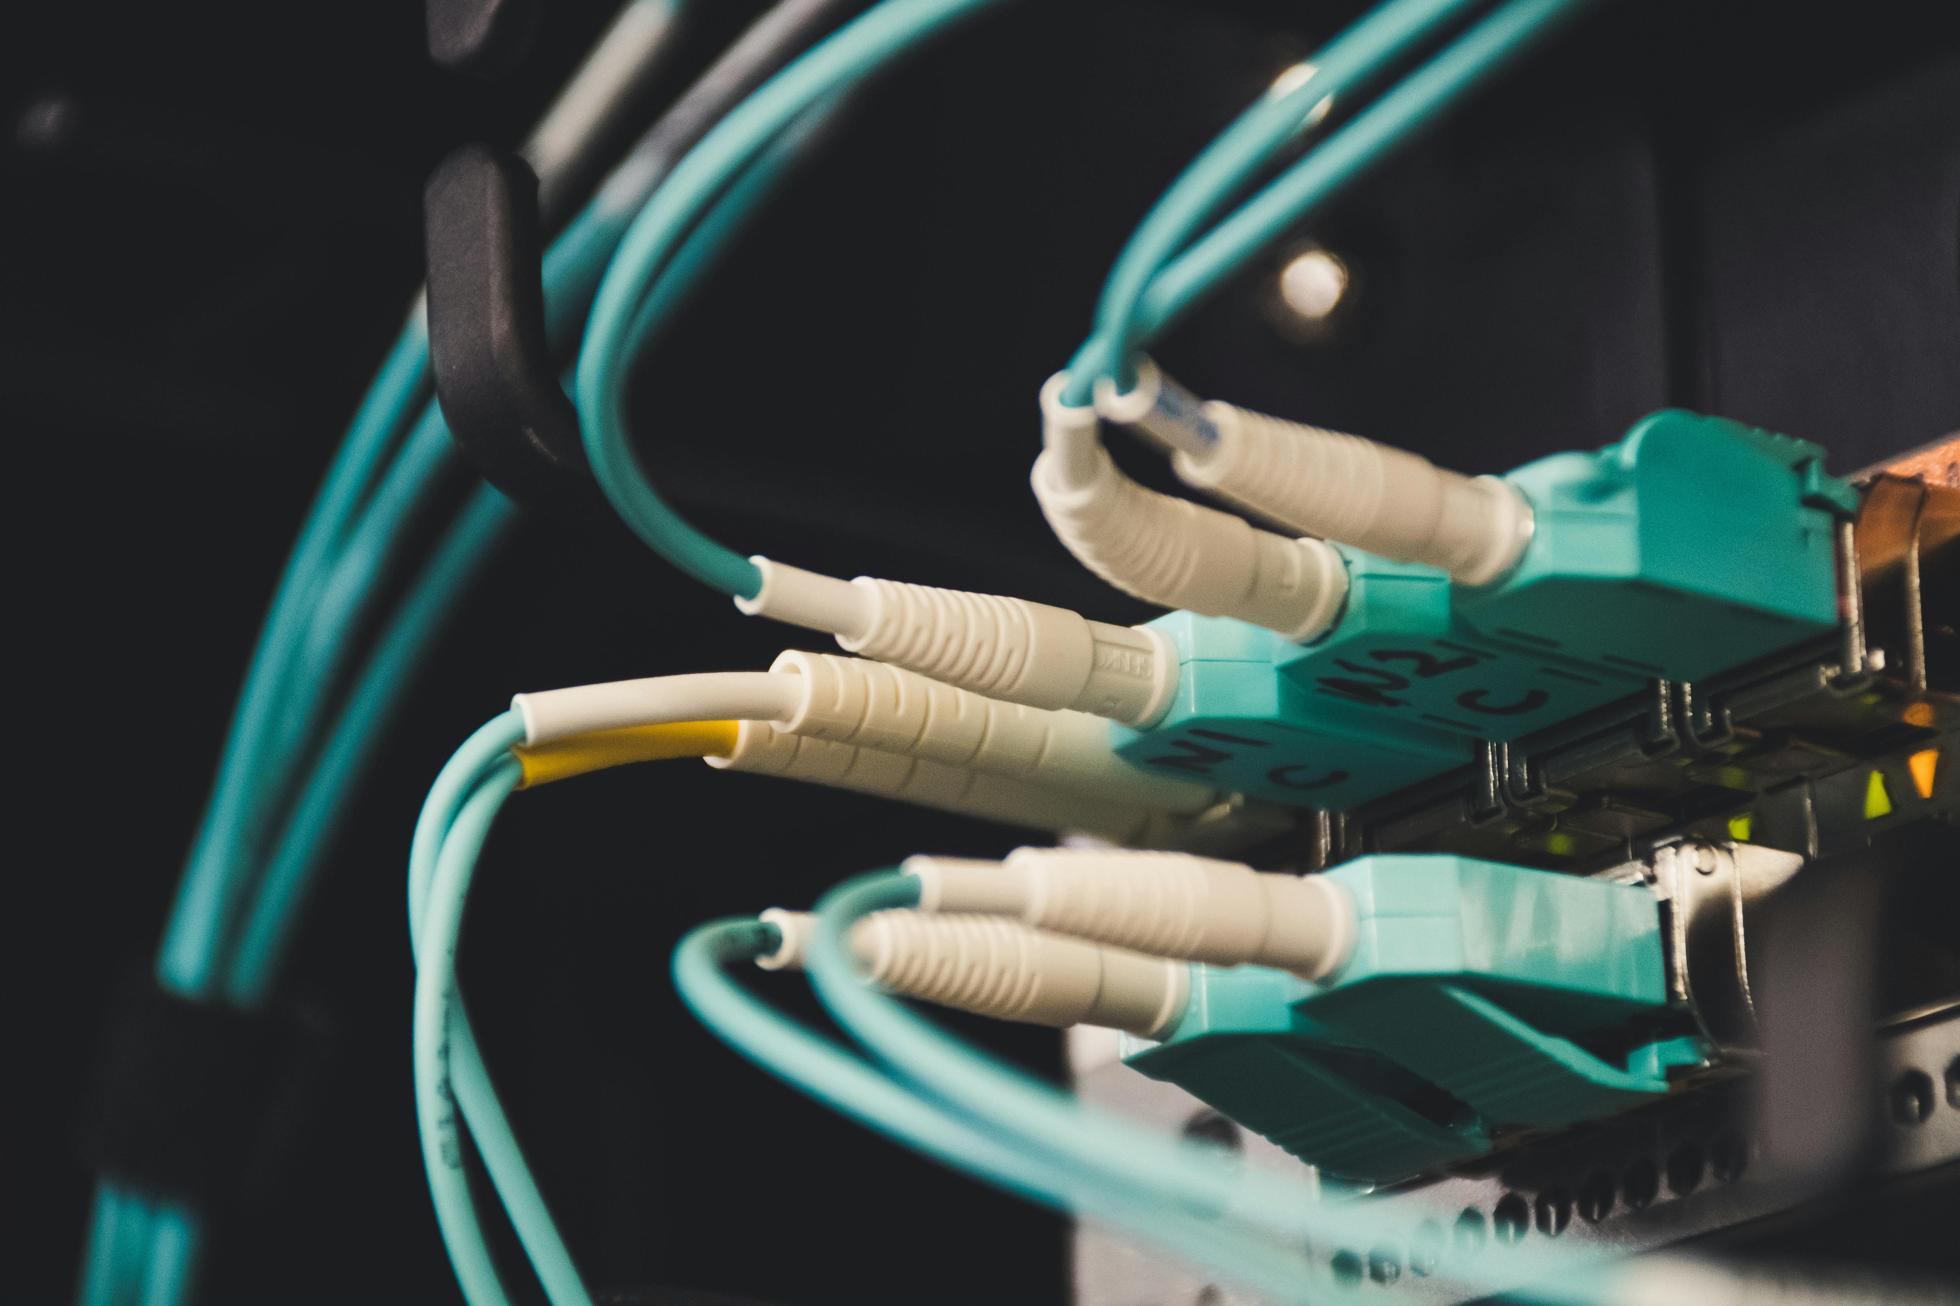
Optical audio, also known as Toslink, is an audio cable type that uses light to transmit digital sound signals. It's commonly used in modern home theater systems and high-definition televisions due to its ability to carry high-quality multichannel audio without signal interference.
What is RCA?
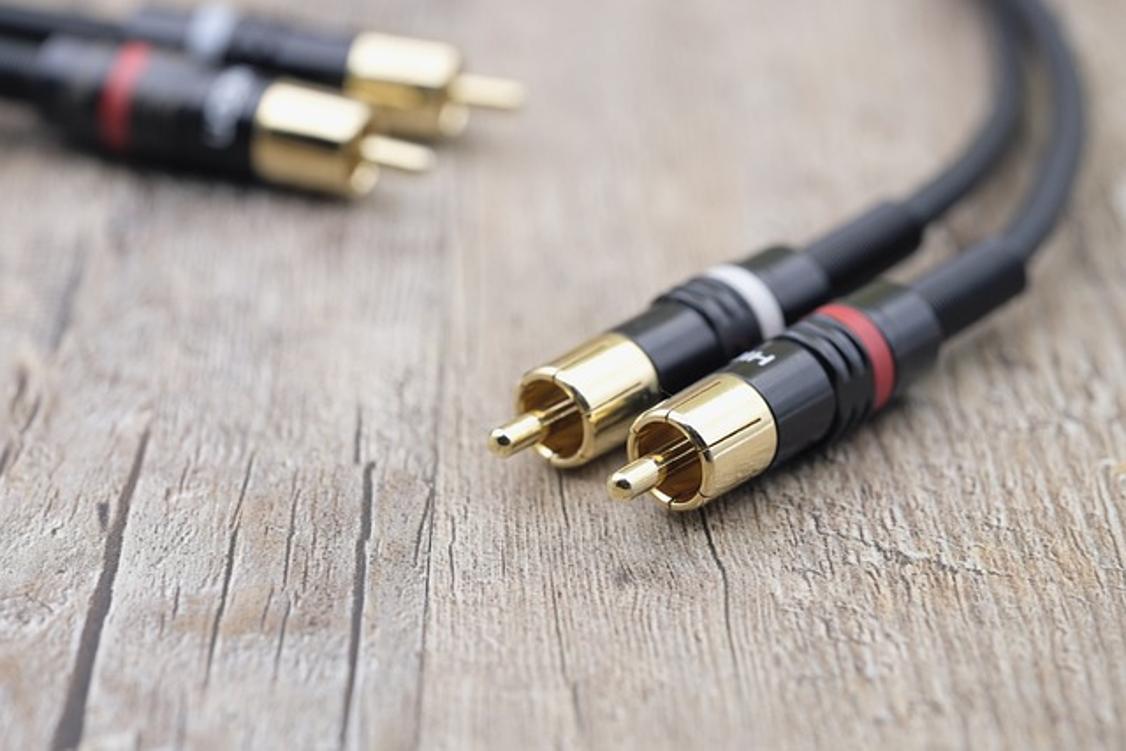
RCA (Radio Corporation of America) cables are the stalwarts of the audio and video world. These analog cables are typically color-coded (red and white for audio) for easy identification. Although RCA cables have been around for a while, they remain widely used for connecting various audio devices, especially older equipment.
Key Differences and Compatibilities
The primary difference between optical audio and RCA cables is how they transmit sound. Optical audio cables carry digital audio signals via light, while RCA cables carry analog signals. Thus, a direct connection isn't possible; an optical to RCA converter is needed to bridge this technology gap by converting the digital signals from the optical cable to analog signals that an RCA input can accept.

Required Tools and Equipment
To connect an optical audio cable to RCA, you'll need specific tools and equipment. Here's a checklist to ensure you have everything you need:
Optical to RCA Converter
An optical to RCA converter is essential. This device converts the digital signal from the optical audio cable into an analog signal receivable by your RCA-equipped device.
Optical Audio Cable
You’ll need an optical audio cable to transmit the digital signal from your source device to the converter.
RCA Cables
You’ll also need RCA cables to connect the converter to your RCA-equipped device. These cables are typically color-coded red and white.
Additional Tools
Consider having a basic toolkit handy, including scissors and cable ties, to manage any excess cabling and maintain a tidy setup.
Step-by-Step Guide to Connection
With your tools and equipment ready, let’s walk through the process of connecting an optical audio cable to RCA step-by-step.
Preparing Your Devices
- Power Off Devices: Ensure all devices involved in the connection are powered off during setup to avoid potential damage.
- Identify Ports: Locate the optical output port on your source device and the RCA input ports on your receiver or speaker system.
Connecting the Optical Audio Cable
- Insert Optical Cable: Insert one end of the optical audio cable into the optical output port of your source device. Ensure it clicks into place securely.
- Connect to Converter: Connect the other end of the optical audio cable to the optical input on the converter.
Setting Up the Converter
- Power Up Converter: Plug in and power on the optical to RCA converter. Most converters use a USB or power adapter cable included in the package.
- Check Indicator Lights: Ensure the converter’s indicator lights show it is receiving power and is ready for operation.
Connecting the RCA Cables
- Connect RCA Cables: Connect the red and white RCA cables to the RCA output jacks on the converter. Match the colors to ensure each cable is placed in the correct slot.
- Connect to Receiver/Speakers: Plug the other ends of the RCA cables into the input jacks on your receiver or speaker system.
Testing the Connection
- Power On Devices: Power on all connected devices.
- Select Input Source: Use the remote or interface on your receiver to select the appropriate input source connected to the RCA cables.
- Test Audio: Play a sample audio file or video to test if the sound is being transmitted correctly through the new connection.
Adjusting Audio Settings
After connecting the optical audio cable to RCA, you may need to tweak some audio settings for optimal performance.
Configuring Your Speaker Settings
- Access Audio Settings: Navigate to the audio settings menu on your receiver or the connected device.
- Adjust Levels: Adjust the audio levels, balance, and any equalization settings to achieve your desired sound quality.
- Select Output Format: Ensure the audio output format matches the capabilities of your RCA input device.
Troubleshooting Common Issues
- No Sound: If there is no sound, double-check all connections to ensure they are secure and correctly placed.
- Check Power: Verify that the optical to RCA converter is powered on and functioning.
- Compatibility Issues: Ensure that the source device’s audio output is set to a format supported by the converter (often PCM for optical outputs).

Benefits of Optical to RCA Setup
Connecting optical audio to RCA can enhance your audio experience in several ways.
Enhanced Audio Quality
Using an optical cable to deliver digital audio can improve sound clarity and quality, reducing signal noise and interference.
Flexibility in Speaker Setup
This setup allows you to use modern digital audio sources with older RCA-equipped audio systems, offering greater flexibility in customizing your entertainment setup.
Cost-Effectiveness
Rather than purchasing new equipment, using an optical to RCA converter leverages existing devices, saving you money.
Conclusion
Connecting an optical audio cable to an RCA input is straightforward when following the right steps and using the appropriate tools. With this guide, you're now equipped to enhance your audio setup effectively. Enjoy the improved quality and flexibility that this connection allows!
Frequently Asked Questions
Can I use any converter to connect optical audio to RCA?
Not all converters are made equal. Ensure the converter you choose specifically supports both optical input and RCA output features.
What should I do if there is no sound after connecting the cables?
Double-check all your cable connections, power supply, and settings on both the source and receiver devices to ensure they are correctly configured.
Are there any audio quality differences between optical and RCA connections?
Yes, optical connections generally offer higher audio quality due to their ability to carry digital signals, whereas RCA connections carry analog signals, which might introduce some noise or interference.


